Imagine a spread so rich, so velvety-smooth, and so naturally sweet that it elevates every bite. We're talking about cashew butter – a true culinary delight that often gets overshadowed by its peanut and almond counterparts. While store-bought versions are readily available, there's an undeniable magic and superior quality that comes from crafting your own batch at home. In less time than you might think, you can transform simple cashews into an exquisite, additive-free spread that will revolutionize your breakfasts, snacks, and baking.
Making homemade cashew butter isn't just about saving a few dollars; it's about taking control of your ingredients, savoring unparalleled freshness, and achieving a perfect consistency tailored precisely to your preferences. Get ready to embark on a delicious journey that culminates in a jar of irresistible cashew goodness, all from the comfort of your kitchen.
The Unrivaled Benefits of Homemade Cashew Butter
There's a reason why so many enthusiasts, including myself, advocate for homemade nut butters. The difference, particularly with cashew butter, is profound. Store-bought options, while convenient, often contain unnecessary additives like hydrogenated oils, excessive sugars, and preservatives to extend shelf life and cut costs. When you make it yourself, you dictate every ingredient, ensuring a pure, wholesome product.
- Unmatched Freshness: The moment you process those cashews, a burst of fresh, nutty aroma fills your kitchen. This freshness translates directly into a more vibrant, nuanced flavor that simply can't be replicated by a jar that's been sitting on a shelf for months.
- Complete Control Over Ingredients: This is perhaps the biggest advantage. You choose high-quality cashews and decide if you want to add just a pinch of sea salt to enhance their natural sweetness, or perhaps a whisper of vanilla or cinnamon. No hidden sugars, no unwanted oils, just pure cashew goodness. This aligns perfectly with the ethos of Homemade Cashew Butter: Fresh Taste, No Additives.
- Superior Texture: With homemade cashew butter, you can achieve your ideal consistency – whether you prefer it extra creamy, slightly thicker, or even a bit looser for drizzling. This level of customization is impossible with pre-made options.
- Cost-Effective: While cashews can be pricier than peanuts, buying them in bulk and making your own butter is often more economical in the long run than purchasing specialty, high-quality store-bought versions.
Beyond spreading it on toast or fruit, homemade cashew butter is incredibly versatile. It's fantastic blended into smoothies for an extra creamy texture, incorporated into baking recipes like cookies or loaf cakes, or even used as a base for savory sauces and dressings. Its mild, naturally sweet flavor profile makes it a forgiving and delightful ingredient in countless applications.
Selecting and Preparing Your Cashews for Optimal Creaminess
The foundation of exceptional cashew butter lies in the quality of your cashews. Don't underestimate this crucial first step, as it significantly impacts both the taste and texture of your final product.
Choosing the Right Cashews
- Unsalted is Key: Always opt for raw, unsalted cashews. This gives you complete control over the salt content, allowing you to perfectly balance the natural sweetness of the nuts. If you can only find salted, you might need to adjust or even omit any additional salt.
- Freshness Matters: Look for cashews that are plump, firm, and have a uniform light beige color. Avoid any that appear shriveled, discolored, or have an 'off' or rancid smell. Fresh cashews are essential for vibrant flavor.
- Quality Grade: While not strictly necessary, selecting whole cashews (W180, W210, W240 grades) often indicates higher quality and better visual appeal. Pieces or splits can work too, but ensure they are fresh.
The Art of Soaking Cashews
While some recipes skip this step, soaking your cashews is a game-changer for achieving truly exceptional, velvety cashew butter. It might add a couple of hours to your prep, but the benefits are well worth it:
- Enhanced Creaminess: Soaking softens the cashews, making them easier to break down. This results in a noticeably smoother, more luscious butter that's less likely to be grainy.
- Faster Blending: Soaked cashews require less effort from your food processor, reducing blending time and the risk of overheating your equipment.
- Potential Nutritional Benefits: Soaking can help reduce phytic acid, an anti-nutrient found in nuts that can inhibit the absorption of certain minerals. This might make the butter easier to digest for some.
How to Soak:
- Place your desired amount of raw, unsalted cashews in a bowl.
- Cover them with at least an inch of filtered water.
- Let them soak at room temperature for a minimum of 2 hours, or up to 4 hours. For longer soaking (e.g., overnight), refrigerate them.
- Once soaked, drain the cashews thoroughly and rinse them under cold water.
- Pat them very dry with a clean kitchen towel. Excess water can make your butter too thin or inhibit the emulsification process.
The Simple Alchemy: Transforming Cashews into Velvety Butter
Now comes the fun part: watching the magic unfold! With your prepared cashews and the right equipment, you're just minutes away from homemade cashew butter.
Essential Equipment: The Food Processor
A high-quality food processor is your best friend here. Its wide base and strong motor are ideal for breaking down the nuts evenly and efficiently. While a high-speed blender can work, it often requires more scraping and might struggle to create a truly creamy texture without adding extra oil, especially with smaller batches.
The Blending Journey: From Cashew to Creamy
This process is all about patience and observation. It typically takes anywhere from 5 to 15 minutes of continuous processing, depending on your machine and the amount of cashews. Don't be alarmed by the stages – they're all part of the transformation:
- Crumbs (1-2 minutes): Initially, the cashews will break down into coarse crumbs. They'll look dry and crumbly, much like breadcrumbs.
- Flour (2-4 minutes): As you continue processing, the crumbs will get finer, resembling a flour.
- Sticky Ball/Paste (4-8 minutes): This is where the cashews' natural oils start to release. The flour will clump together, forming a sticky ball or a thick, dense paste that might stick to the sides of the bowl. This is a crucial stage! Keep processing.
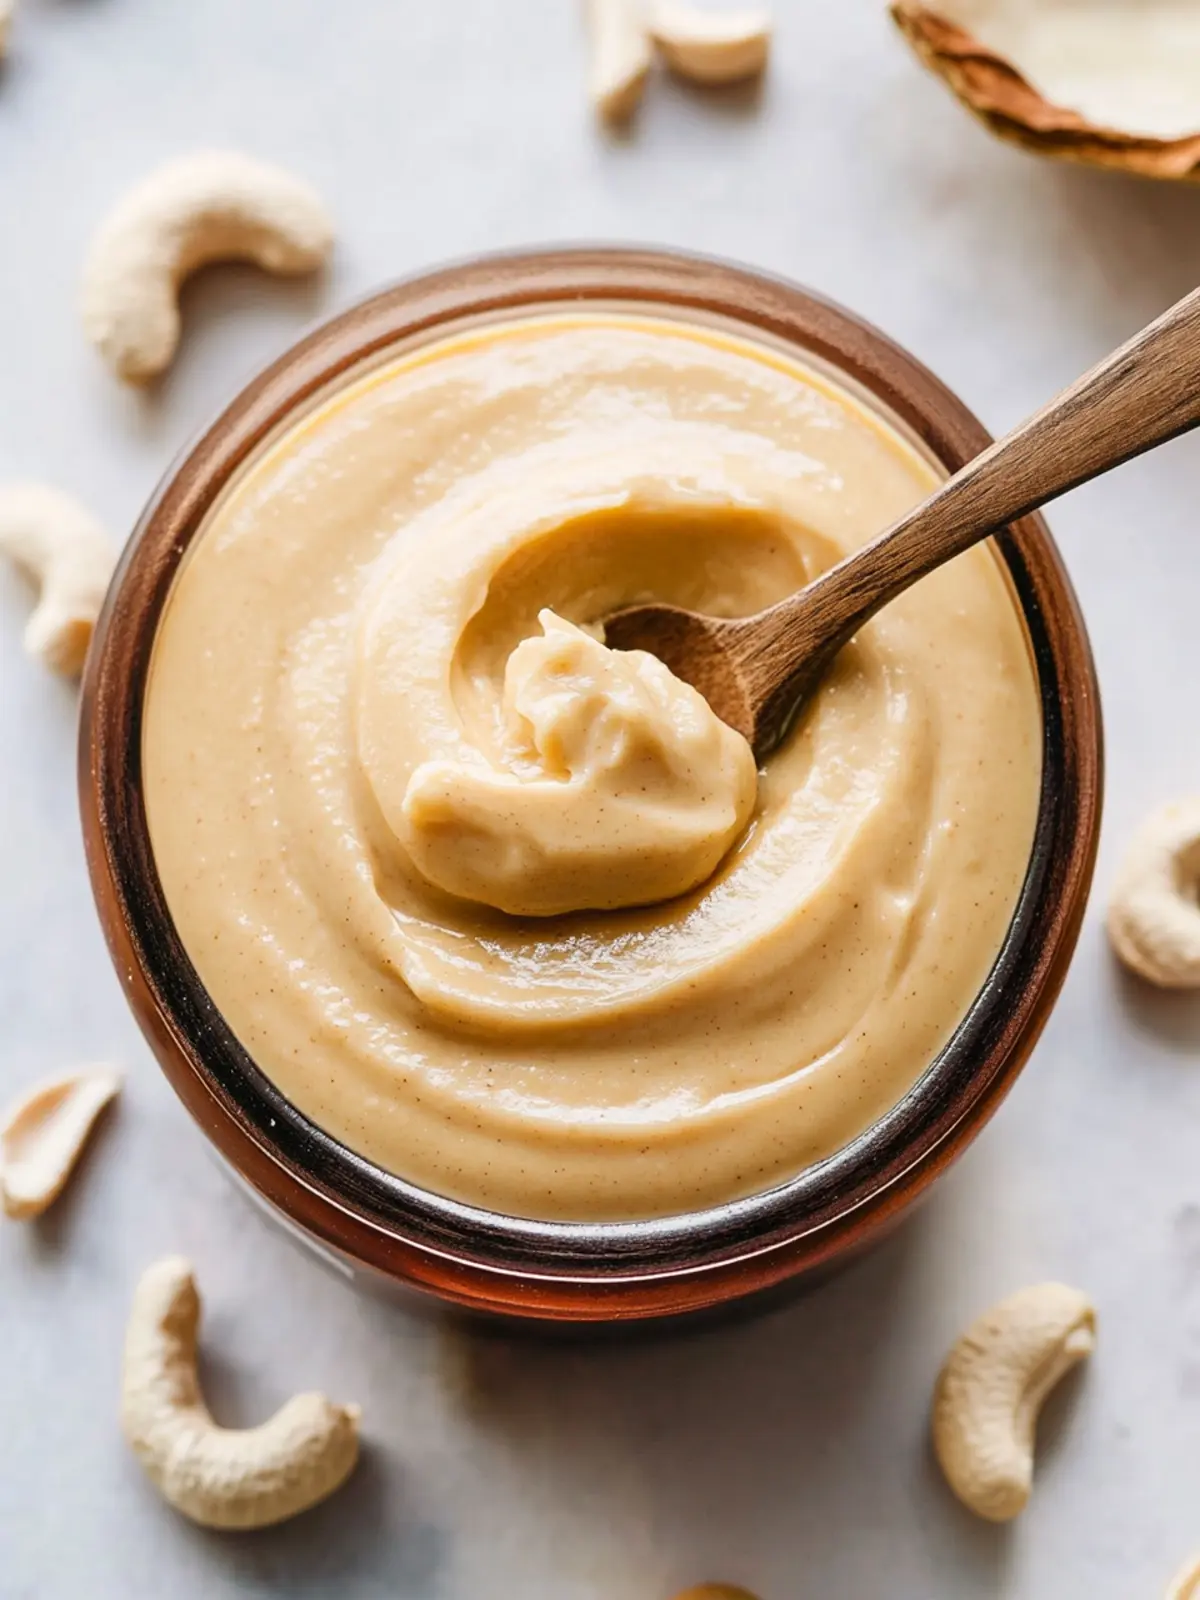
- Smooth & Creamy (8-15 minutes): Finally, the oils will fully emulsify, and the mixture will smooth out. The sticky ball will break apart, and the butter will start to flow, becoming wonderfully glossy and creamy. Continue processing until it reaches your desired consistency.
Tips for Success During Blending:
- Scrape Down the Sides: Periodically stop your food processor and scrape down any cashews clinging to the sides of the bowl. This ensures even processing.
- Be Patient: It can feel like it takes forever for the nuts to release their oils and smooth out, especially during the "sticky ball" phase. Trust the process and keep blending.
- Breaks are Good: If your food processor starts to feel warm, give it a 30-second break to prevent overheating the motor and potentially cooking the butter.
- Add a Pinch of Salt: Once the butter starts to smooth out, add a small pinch of sea salt or Himalayan pink salt. This tiny addition significantly enhances the natural sweetness and depth of flavor.
- Optional Flavorings: Once your cashew butter is smooth, you can stir in optional additions like a touch of vanilla extract, a sprinkle of cinnamon, or even a teaspoon of maple syrup or honey for extra sweetness. Just be mindful that liquid additions can alter the texture slightly.
With just a few simple steps, you can achieve that perfect, creamy consistency without any added sweeteners or preservatives. For more detailed instructions on the speed of processing after preparation, you might find inspiration in Make Creamy Cashew Butter at Home in Under 15 Mins.
Achieving Your Ideal Consistency and Smart Storage
One of the joys of homemade cashew butter is customizing its texture. Once blended, you have options to fine-tune it, and proper storage ensures its freshness and quality for weeks to come.
Adjusting Consistency
- For a Thinner Consistency: If you prefer a runnier texture for drizzling, you can process it for a minute or two longer until it’s silkier. Alternatively, once stored and chilled, you can warm it gently in a microwave-safe bowl for a few seconds, stirring well until it reaches your desired pourable consistency.
- For a Thicker Consistency: If your butter is too thin (unlikely with just cashews, but possible if too much liquid was added), you can try adding a few more raw cashews and blending again. However, cashew butter naturally firms up significantly when refrigerated, so this might not be necessary.
- If It's Not Smoothing Out: If your food processor seems to be struggling to get it perfectly smooth, you can add a tiny amount (start with 1 teaspoon) of a neutral oil, like refined coconut oil (melted) or a light olive oil, and process again. This helps the emulsification.
Smart Storage Guidelines
Proper storage is crucial to maintain the freshness and flavor of your homemade cashew butter. Since it contains no preservatives, its shelf life is shorter than store-bought versions.
- Refrigeration: Transfer your freshly made cashew butter into an airtight glass jar or container. Store it in the refrigerator for up to 2-3 weeks. Like other nut butters, it will firm up considerably when cold. Simply let it sit at room temperature for 10-15 minutes before using, or warm it briefly as mentioned above, to regain a spreadable texture.
- Freezing for Longer Term: For extended storage, you can freeze cashew butter for up to 3 months. Portion it into smaller, airtight containers or even ice cube trays (then transfer to a freezer bag) for easy thawing of individual servings. Thaw in the refrigerator overnight or at room temperature for a few hours.
Always ensure your storage containers are clean and dry before filling them to prevent spoilage.
Conclusion
There you have it – a comprehensive guide to crafting your own perfect batch of homemade cashew butter. From selecting the finest raw cashews and understanding the benefits of soaking, to patiently watching the transformation in your food processor and storing it correctly, you're now equipped with all the knowledge to achieve consistent, delicious results every time. Embrace the freshness, control, and unparalleled flavor that comes with making your own. This simple, hands-on process not only yields a superior product free from unwanted additives but also offers immense satisfaction. So, grab your cashews and get ready to enjoy the rich, creamy goodness of your very own, perfectly consistent cashew butter!
